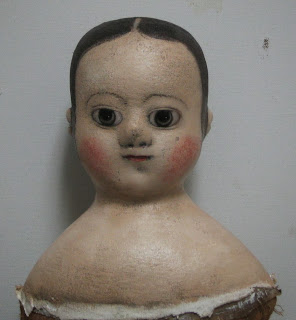
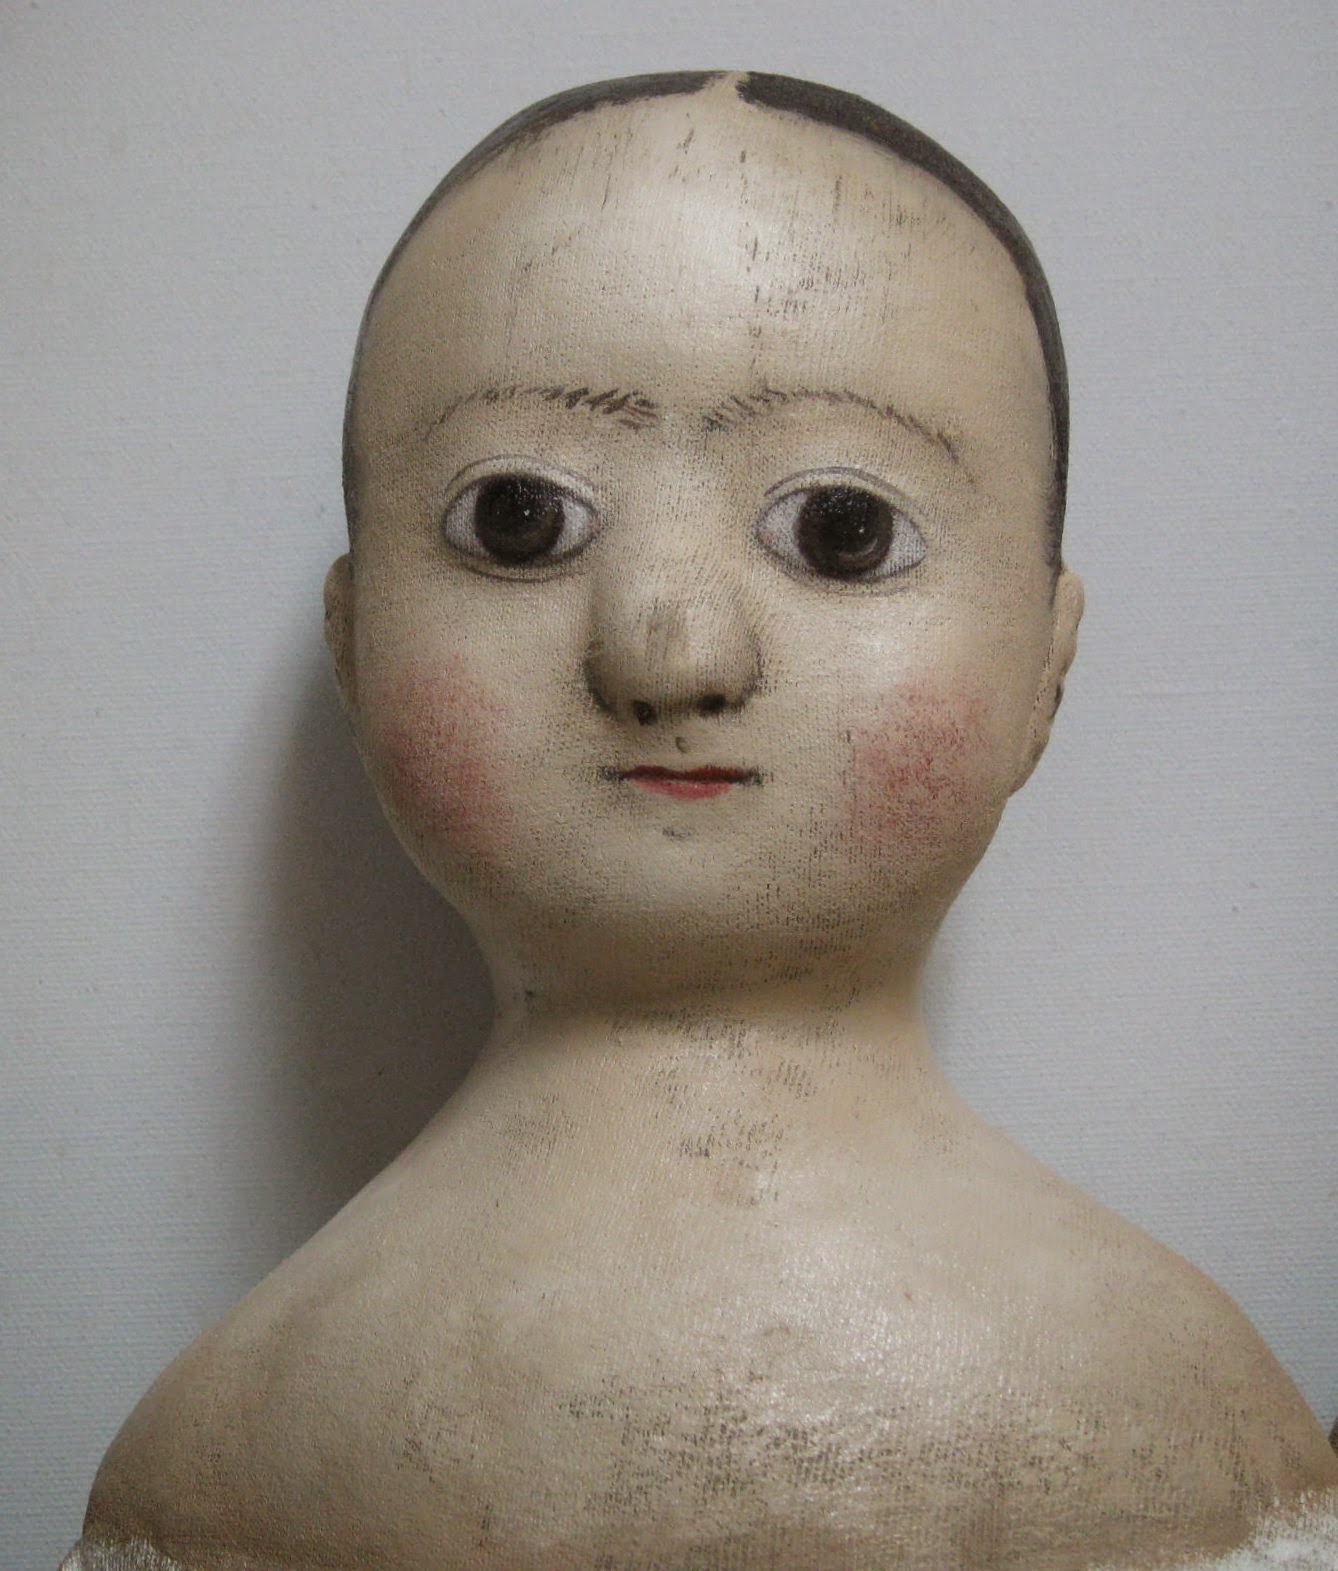
Well, here we are at Stage 3 already. Times flies when you are having fun. Sometimes, like you, I'm sure, you get on a roll of good easy going doll making. Things seem to just fall into place and the paint goes on good, and no major problems come up. I've had pretty good luck lately and haven't had a major boo boo. Stage 2 is where we left off last time. Our dolls had been painted with one coat of oil paint and had been through the distressing operation and set aside to dry. There is a definite benefit for using oil paint, I can wait a day to two to begin to paint my dolls again after staining, or, I can immediately start painting on top of my stain, which I usually do, I think I waited one or two days this time to go into stage 3, which is to mix up my original paint colors again and sit down, and begin to apply a finishing coat on top of my stain. It is simple really. You will paint lightly over the dolls skin with your flesh color, this leaves your distressing visible. Your cracks and splits and picks will still show through. You don't want to go heavy, but lightly over all face and shoulders. You will want to come back and apply heavy paint in certain areas, like the middle of the fore head, across the nose and sides of the nose, around mouth , and chin area. I touch up the eyes and make small corrections, add a little darker paint around the nose and sides of the mouth. A lot of times while you are touching up your features, you might make a small change, say in the mouth area, that will greatly change the look of your doll. That is good, unless you like the mouth the way you had it, so be careful. usually these small corrections are for the good. Next I apply some blush to the cheeks. Mix up your color. I usually mix a little red, a little burnt sienna and a touch of brown. This gives a more old looking color to me. I use a bristle brush and lightly and sparingly dab in onto the brush and very, very lightly apply to cheeks. If you keep dabbing in on, the color with smooth out and you will loose the old paint loss look. I also work on the hair at this point, sprucing up the curls, or making a few changes to the hair line, and so forth. Only experience will teach you these things. Now you will let your dolls dry. When they are nice and dry, you can bring out your sand paper and ever so lightly sand a few spots of missing paint to the hair, not to much, and also really lightly sand the cheeks, taking off almost nothing, but showing some paint loss. This is what I call the Tweek Out.


Out of time again. As your doll dries, you can relax and begin to pick out her fabric and style of dress. Hope I helped some, and I hope you will try this, as it's fun and works pretty good.


Time IS fun when you're having flies. ;~P Don'tcha just love it when the doll making goes well?
ReplyDeleteI love these babies, can't wait to see them dressed. Thank you for the aging lesson. Um, I mean the DOLL aging lesson.
All alike, but so different. And all so Martha, and each so special...full of love, both to give and to receive.
ReplyDelete